Intro to Open Science Studio and JupyterHub#
Andrew Delman, 2024-10-11
This page will help you get set up on the Open Science Studio (OSS) system that we will use during Hackweek to work with notebooks. It also has a little background information on the OSS and JupyterHub workspaces.
Fast track to OSS login and server setup
What is Open Science Studio?
What is JupyterHub?
Fast track to OSS login and server setup#
OSS authentication setup#
Here we assume that you have already provided an e-mail to Hackweek organizers that they have shared with the SMCE tech team to set up your account. Go to https://sealevel.oss.eis.smce.nasa.gov:
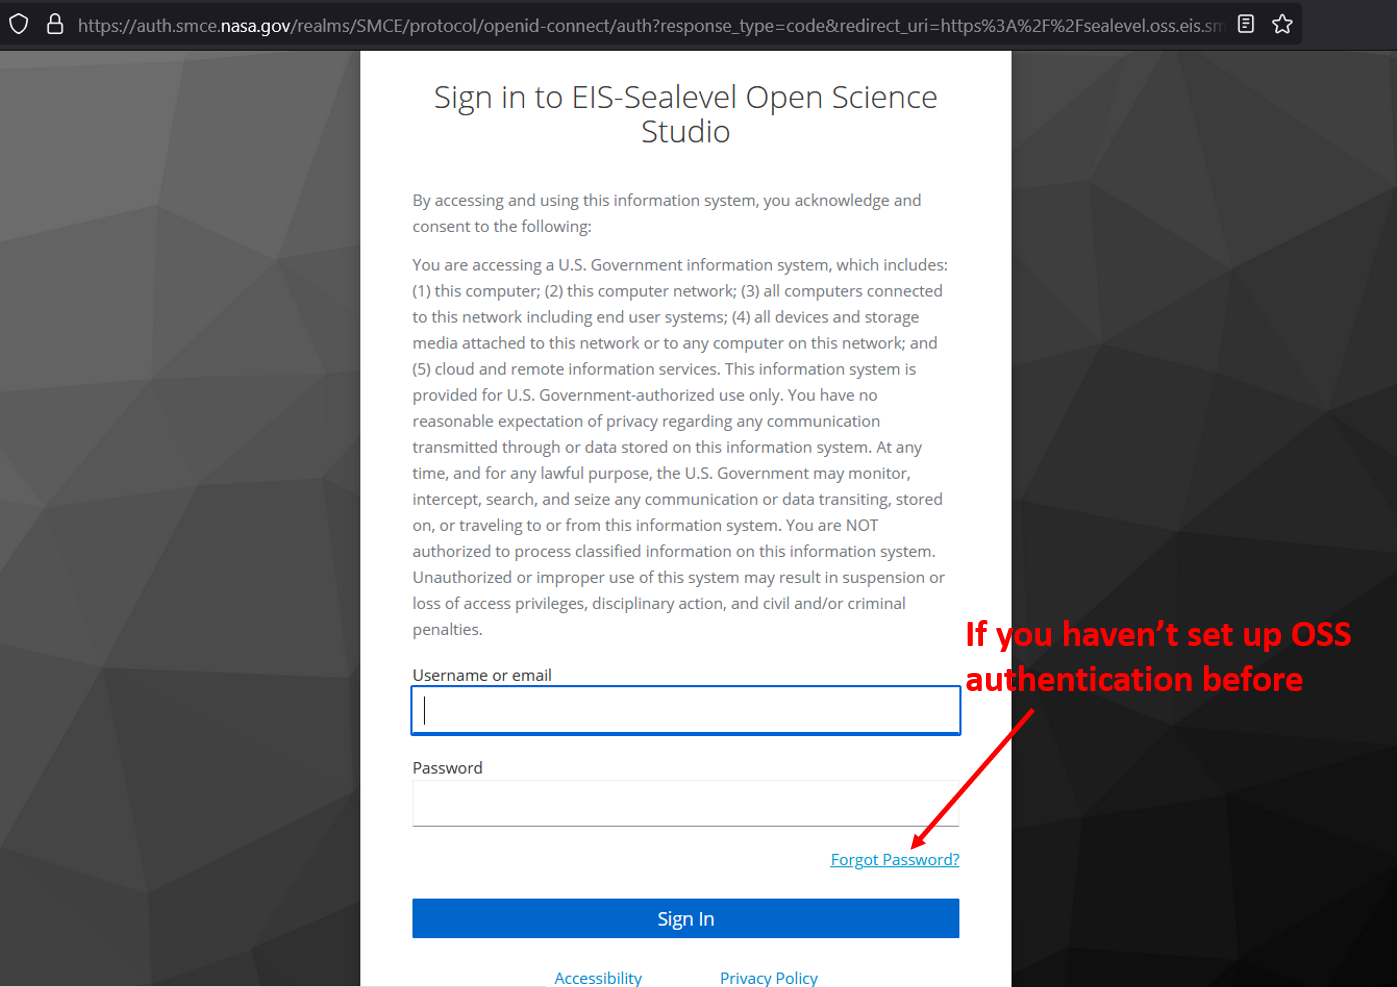
If you have not set up your OSS authentication credentials yet (password and token), click “Forgot Password?”. You should get a page that prompts you for your username or e-mail associated with the account:
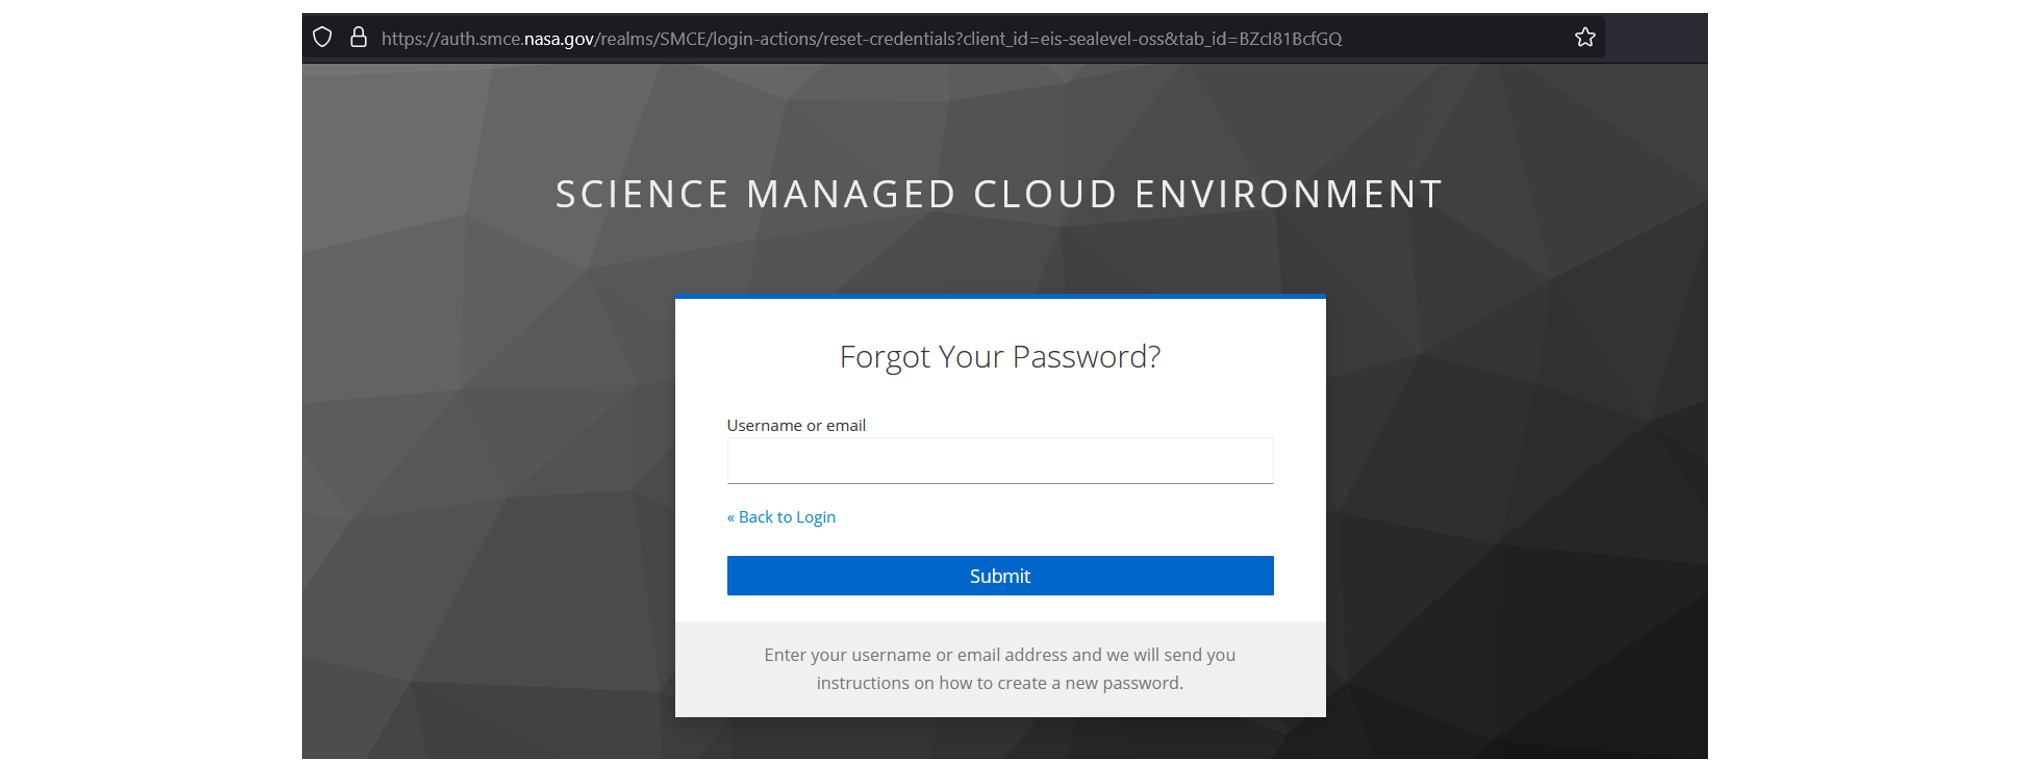
After you enter your password, you should get an e-mail that prompts you to set up a password, and a token in a third-party authenticator app (e.g., Microsoft or Google Authenticator). At the link there should be a QR code that you can scan in the authenticator app of your choice.
Attention
The authentication for OSS is distinct from the P-Cluster, which uses an SSH key pair. See the Getting Started with the P-Cluster tutorial for an overview of the P-Cluster authentication process.
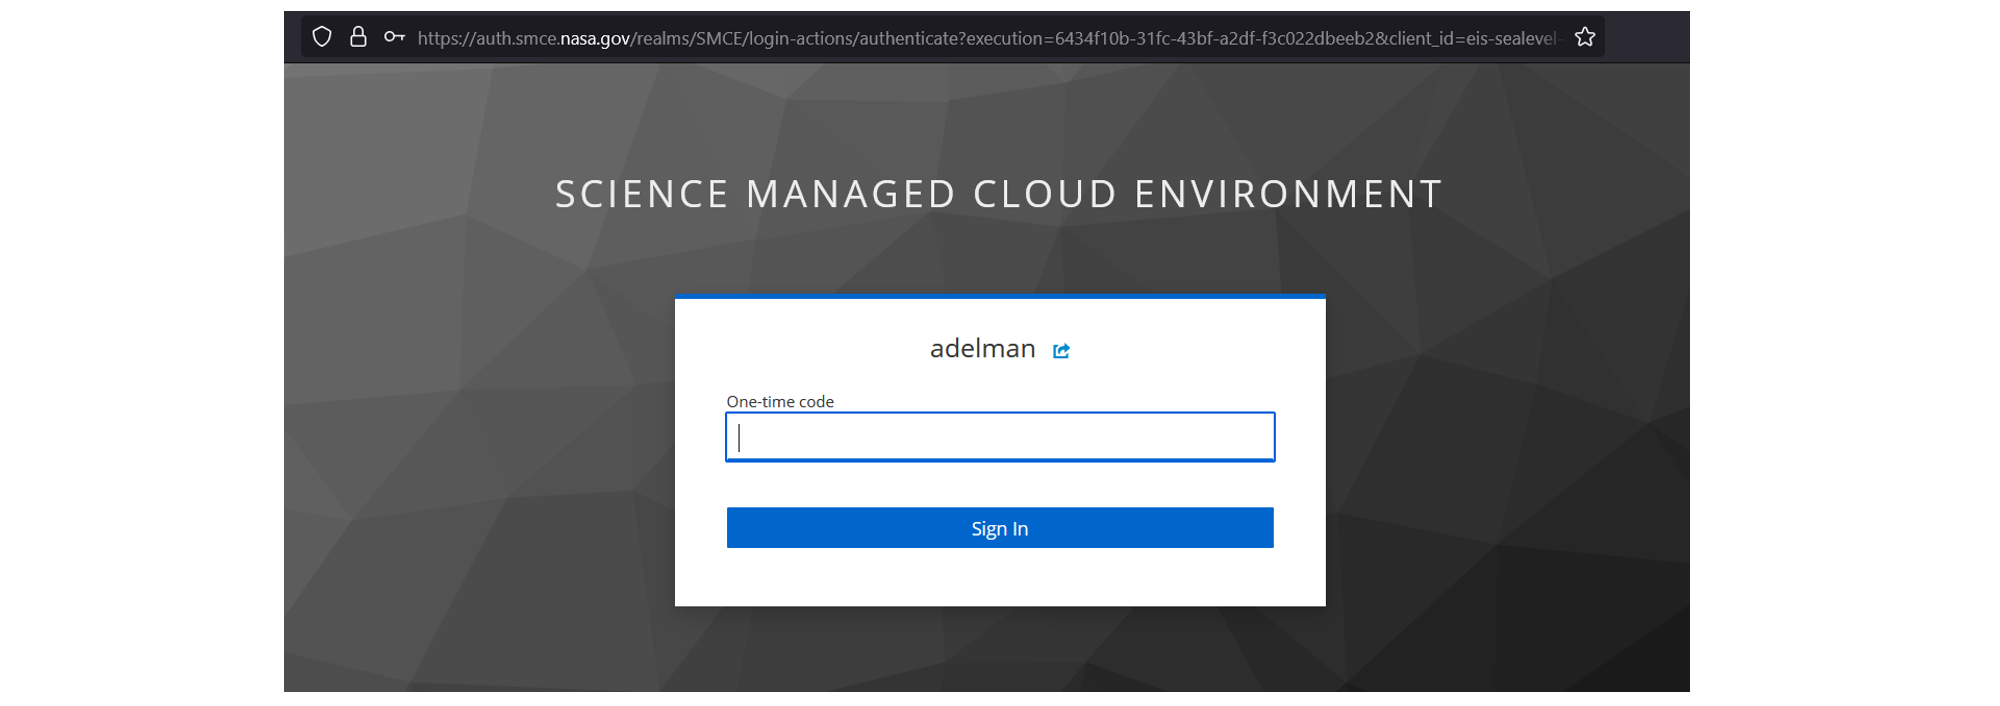
After setting up your two-factor authentication (password + app-based token), return to the OSS login page and use your password to sign-in. The next page will prompt you for the token from your authenticator app:
JupyterHub server selection#
After entering your password and token, you should see a screen to select a “server” size for your JupyterHub:
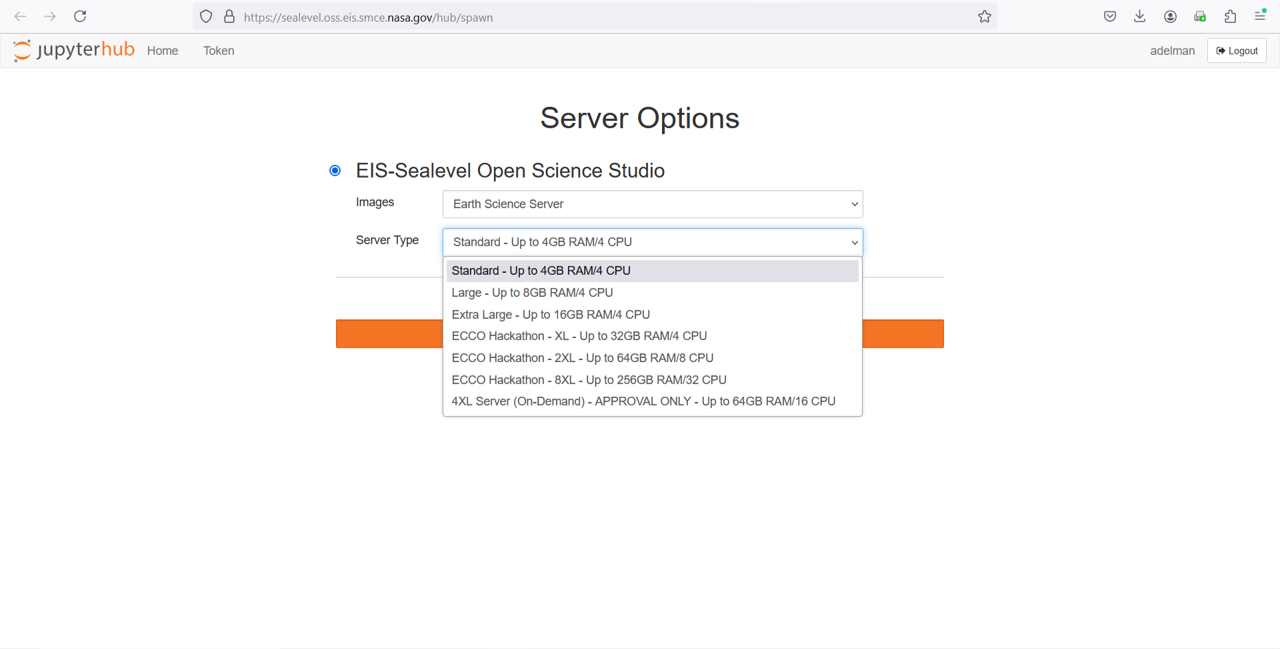
The first three options in the drop-down menu are the regular options for the OSS interface, with the larger “ECCO Hackathon” options provided for the use of the Hackathon this week. If you are just starting to experiment with notebooks, please select a smaller server–Large (8GB RAM) or Extra Large (16GB RAM) is fine. If you want to run a Jupyter notebook that uses 26 years of full-depth ECCO output, you will make life easier for yourself by selecting one of the larger “ECCO Hackathon” servers with more memory.
Note
The Python tutorials that use ECCO output in the ecco-2024 repository all should be OK to run with as low as 8 GB of RAM, though if you want to save some time with the transport and budget tutorials you can use a larger server.
Once you have selected a server, it will take a few minutes to allocate the resources for you and set it up. You will see a blue bar moving across the screen that helps you monitor the progress. Once the server is set up you will arrive at your JupyterHub home page, from which you can create, edit, and run notebooks, as well as work in a terminal window and create markdown files among other features.
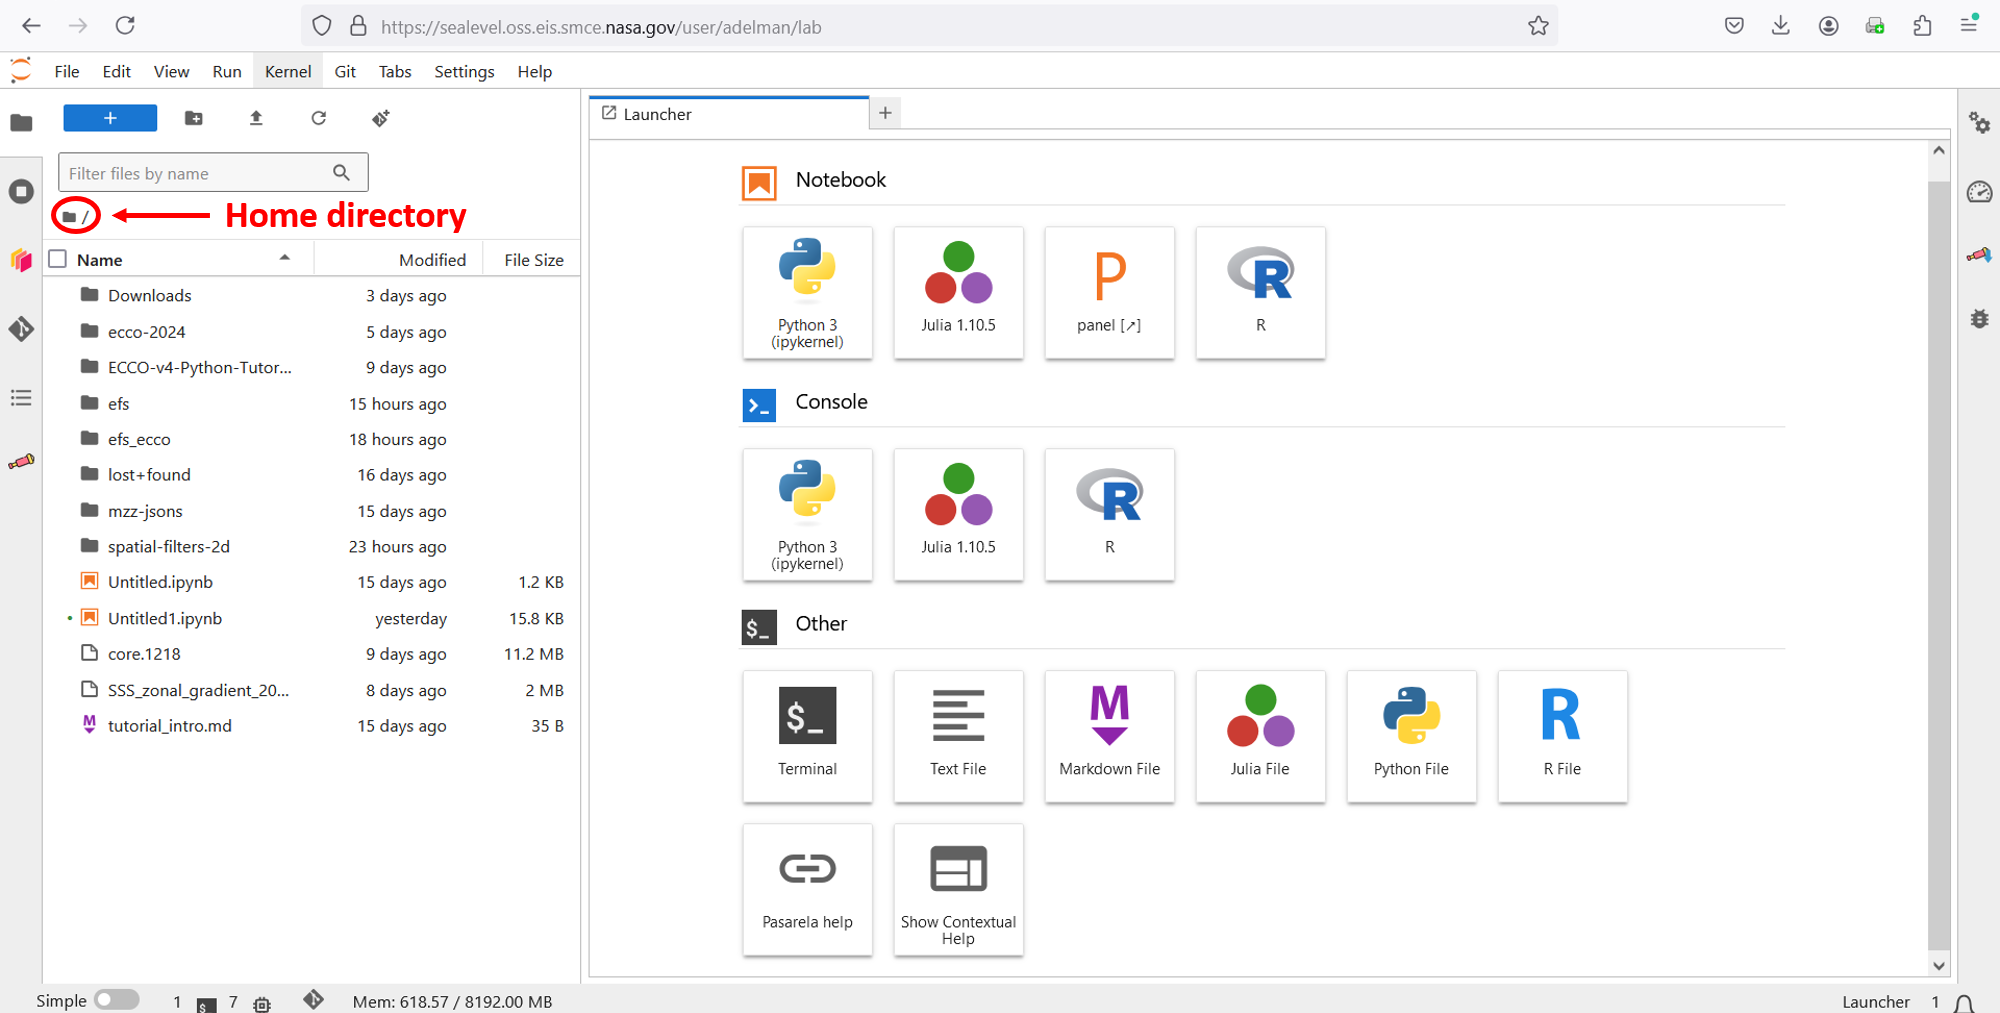
Take a moment to check the contents of your top-level home directory. On the left side of your screen it shows the contents of your current working directory. If you are in a subdirectory, click on the folder (annotated by the red circle above) to go to your home directory.
When starting out on OSS you will not have as many directories as are shown here, but one directory you should be able to see is the efs_ecco directory. The efs_ecco volume is mounted to both OSS and P-Cluster; its capacity is theoretically “unlimited” (at least petabytes), and this is where you can store larger data files that are shared with the P-Cluster. Please do not store large data files on OSS outside of efs_ecco, since the total storage capacity of the Hackweek OSS is 150 GB. If you do not see efs_ecco under your OSS home directory, please let one of the Hackweek organizers know.
Note
If you have more setup to do, feel free to proceed to the next setup page. Below there is some more information on what this platform is that you have just logged into.
What is Open Science Studio?#
The Science Manged Cloud Environment (SMCE) group at the NASA Goddard Space Flight Center is dedicated to making cloud environments more accessible for scientific users. One of their solutions is the Open Science Studio (OSS), which allows a number of users to access their own cloud-based file system, while sharing a common computing environment and access to a storage volume with theoretically “unlimited” capacity. It is a conducive setup for team collaboration on a project in the cloud, since users have their own file system (for writing/editing code and notebooks), but also have shared access to large data files and other resources.
The OSS setup we are using during ECCO Hackweek provides each user access to a server running in the Amazon Web Services (AWS) Cloud that they can launch upon login. If you have launched or worked on an Elastic Compute Cloud (EC2) instance in the AWS Cloud, the server that is being launched is analogous to an EC2. However, rather than just starting in a generic operating system environment, the OSS server automatically starts a JupyterHub with a common set of packages in Python and Julia pre-loaded so that the user can quickly start running and experimenting with notebooks.
Note
Why AWS Cloud? The data from the ECCOv4 Central State Estimate is hosted by PO.DAAC in the AWS Cloud. Hence there are computational advantages to working with the data “close” to where it is stored. Moreover, our OSS setup is located in the same AWS Cloud “region” as the ECCO output: us-west-2; physically, the us-west-2 storage is located in Oregon.
What is JupyterHub?#
To understand what JupyterHub is, let’s start by understanding what Jupyter notebooks are:
Jupyter notebook: The Jupyter notebook is a computational notebook that allows creators to combine code with its executed outputs (e.g., plots), markdown text, math equations, and more, all in a single file. This interactive working environment can support multiple computing languages through a variety of kernels, though Python is the most common computing language used, and Python-based notebooks can be identified by the
.ipynbfile type (for Interactive Python Notebook).If you want to work with Jupyter notebooks on your local machine they can be installed via Anaconda (recommended), or via
pip install notebookif you already have Python’spippackage manager installed. When you open Jupyter notebooks locally, you will work with them in a web browser (even if they are locally stored files).JupyterLab: JupyterLab is a web-based interface that hosts Jupyter notebooks along with terminal window access and sometimes other applications. It is designed so that the interface can be ported via the Internet with high-quality graphics. If you are using Jupyter notebooks on a server or machine that is not local to you (e.g., AWS Cloud, or an HPC system such as NASA’s Pleiades), you will probably use JupyterLab to work with the notebooks on your local machine’s web browser, rather than the remote system’s browser. This is because JupyterLab is much better at porting the graphical interface than say, X11 window forwarding using
ssh -Y.JupyterHub: JupyterHub is an implementation of JupyterLab for multiple users. It spins up a common working environment with the same set of packages pre-installed for each user, but each user also gets their own private home file system to log in to and work with.
When working in the cloud, storage volumes can also be mounted to these file systems which multiple users can access. Hence Jupyter notebooks can be written and edited privately by individual users that make use of data stored in shared volumes. This is analogous to spinning up a number of EC2 instances in the AWS Cloud from a common image/AMI. It also echoes the separation on HPC systems between a user’s home working directory and the larger-capacity
/nobackupor “scratch” directories which can often be accessed by other users.

